As our world evolves, we find that with each passing day, our need for electricity grows stronger, as there are more things we can’t get done without it. Likewise, our need for an extension socket.
A single socket usually has one, two, or three plug outlets which allows a plug-in of two or three devices at a time.
But when you have a socket with only one outlet and you need to connect about four different devices at a time, an extension socket or box is needed.
With that said, the importance of the knowledge embedded in this article cannot be overemphasized.
In this article, we’ll run you through some steps on how to couple an extension socket on your own, and save yourself some extra cash.
What you should know:
Plugs and power cables
A power cord, line cord, or mains cable is a cable that temporarily connects an appliance to the mains electricity( a form of electrical power that consumers use when they plug items such as domestic appliances, televisions and electric lamps into wall outlets) supply via a wall socket or extension.
Power cables may be either fixed or detachable from the appliance. In the case of detachable leads, the appliance end of the power cord has a female connector to link it to the appliance, to avoid the dangers from having a live protruding pin.
Cords may also have twist locking features, or other attachments to prevent accidental disconnection at one or both ends. A cord set may include accessories such as fuses for overcurrent protection, a pilot lamp to indicate voltage is present, or a leakage current detector. Power cords for sensitive instruments or audio/video equipment may also include a shield over the power conductors to minimize electromagnetic interference.
MATERIALS/TOOLS USED AND THEIR USES
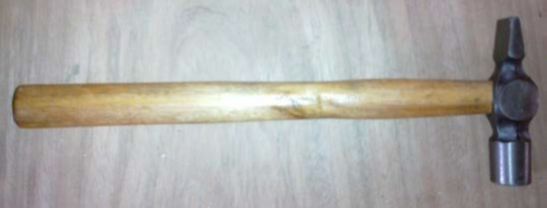
- Fig 1. Hammer
Used for driving in nails
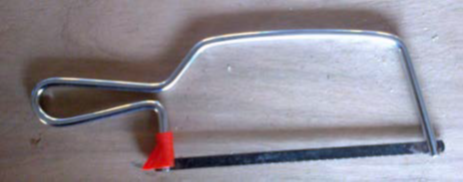
- Fig 2. Hand saw
Used for cutting plastics.

- Fig 3. Pattress box
Holding the socket on to the wood

- Fig 4. Socket
Plugging in Equipments

- Fig 5. Plier
Used for cutting wires
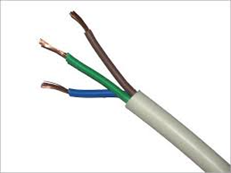
- Fig 6. Cable with flexible wire
For connecting the boxes to electricity

- Fig 7. Screw driver
Used for driving in and tightening screws
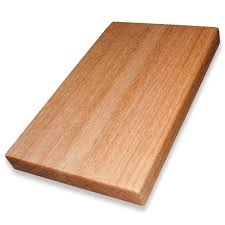
- Fig 8. Wooden plank
Used as a platform for working
PROCEDURES FOR CONSTRUCTING THE EXTENSION SOCKET
- Identify the materials needed in the construction.
- Make bare the ends of the three wires inside the electrical cord for about half a centimeter, by cutting away the plastic insulation.
- Gently twist the strands of copper wire with your fingers until each wire is tight.
- Remove the plug cover by either “snapping” or unscrewing it.
- Unscrew the little screws on each of the plug’s pins.
- Insert the twisted copper wires into the holes in the pins.
- The brown or red wire is inserted into the right pin (the pin is marked with a brown spot or the letter L), the green and yellow wire must always be inserted into the top pin and the blue or black wire is inserted into the left pin (the pin is marked with a blue spot or the letter N).
- Tighten the little screw on each of the plug’s pins.
- Replace the cover of the plug.

- Create holes on the pattress boxes to allow free passage of cables.
- Set 2 pattress boxes on the wooden plank, mapping out accurate and neat alignment which fits the setting of the extension box. Then screw the pattress box on the wooden-board using a screwdriver.
- Insert the brown (old cable colour = red), LIVE conductor into the hole in the terminal marked ‘L’. Ensure that the conductor is fully housed and that there is no exposed wire showing. Fasten the screw and make sure the wire is firmly secured. Repeat the process for the blue (old cable colour = black), neutral conductors, fixing them in the terminal marked ‘N’. Repeat the process for the green/yellow, earth conductors fixing them to the terminal marked with the earth symbol
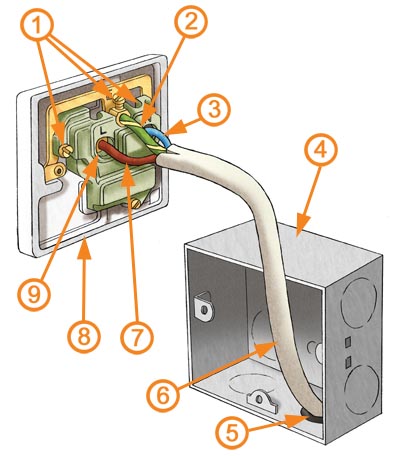
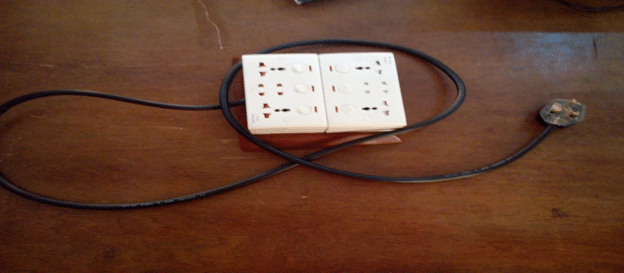
- You start by passing the connecting wires of the plug through the hole created in the second pattress box and joining the wires (brown, blue and black in the live neutral and earth) to the respective wires of the other double plug socket that is after passing the wire through the other hole created in the side of the second pattress box.
- Double check that all your connections are to the correct terminals, and securely fastened. Carefully push the face plate back, gently folding the cables as you go, so that they sit neatly into the pattress box. Fasten the face plate with its retaining screws. Tighten the screws alternately to draw the plate back evenly. As you tighten these, ensure that the face is level. One or both of the screw mountings will have allowance for a small amount of vertical adjustment.
DOWNLOAD THE GUIDE ON DESIGN AND CONSTRUCTION OF EXTENSION SOCKET (3*6 EXTENSION BOX)