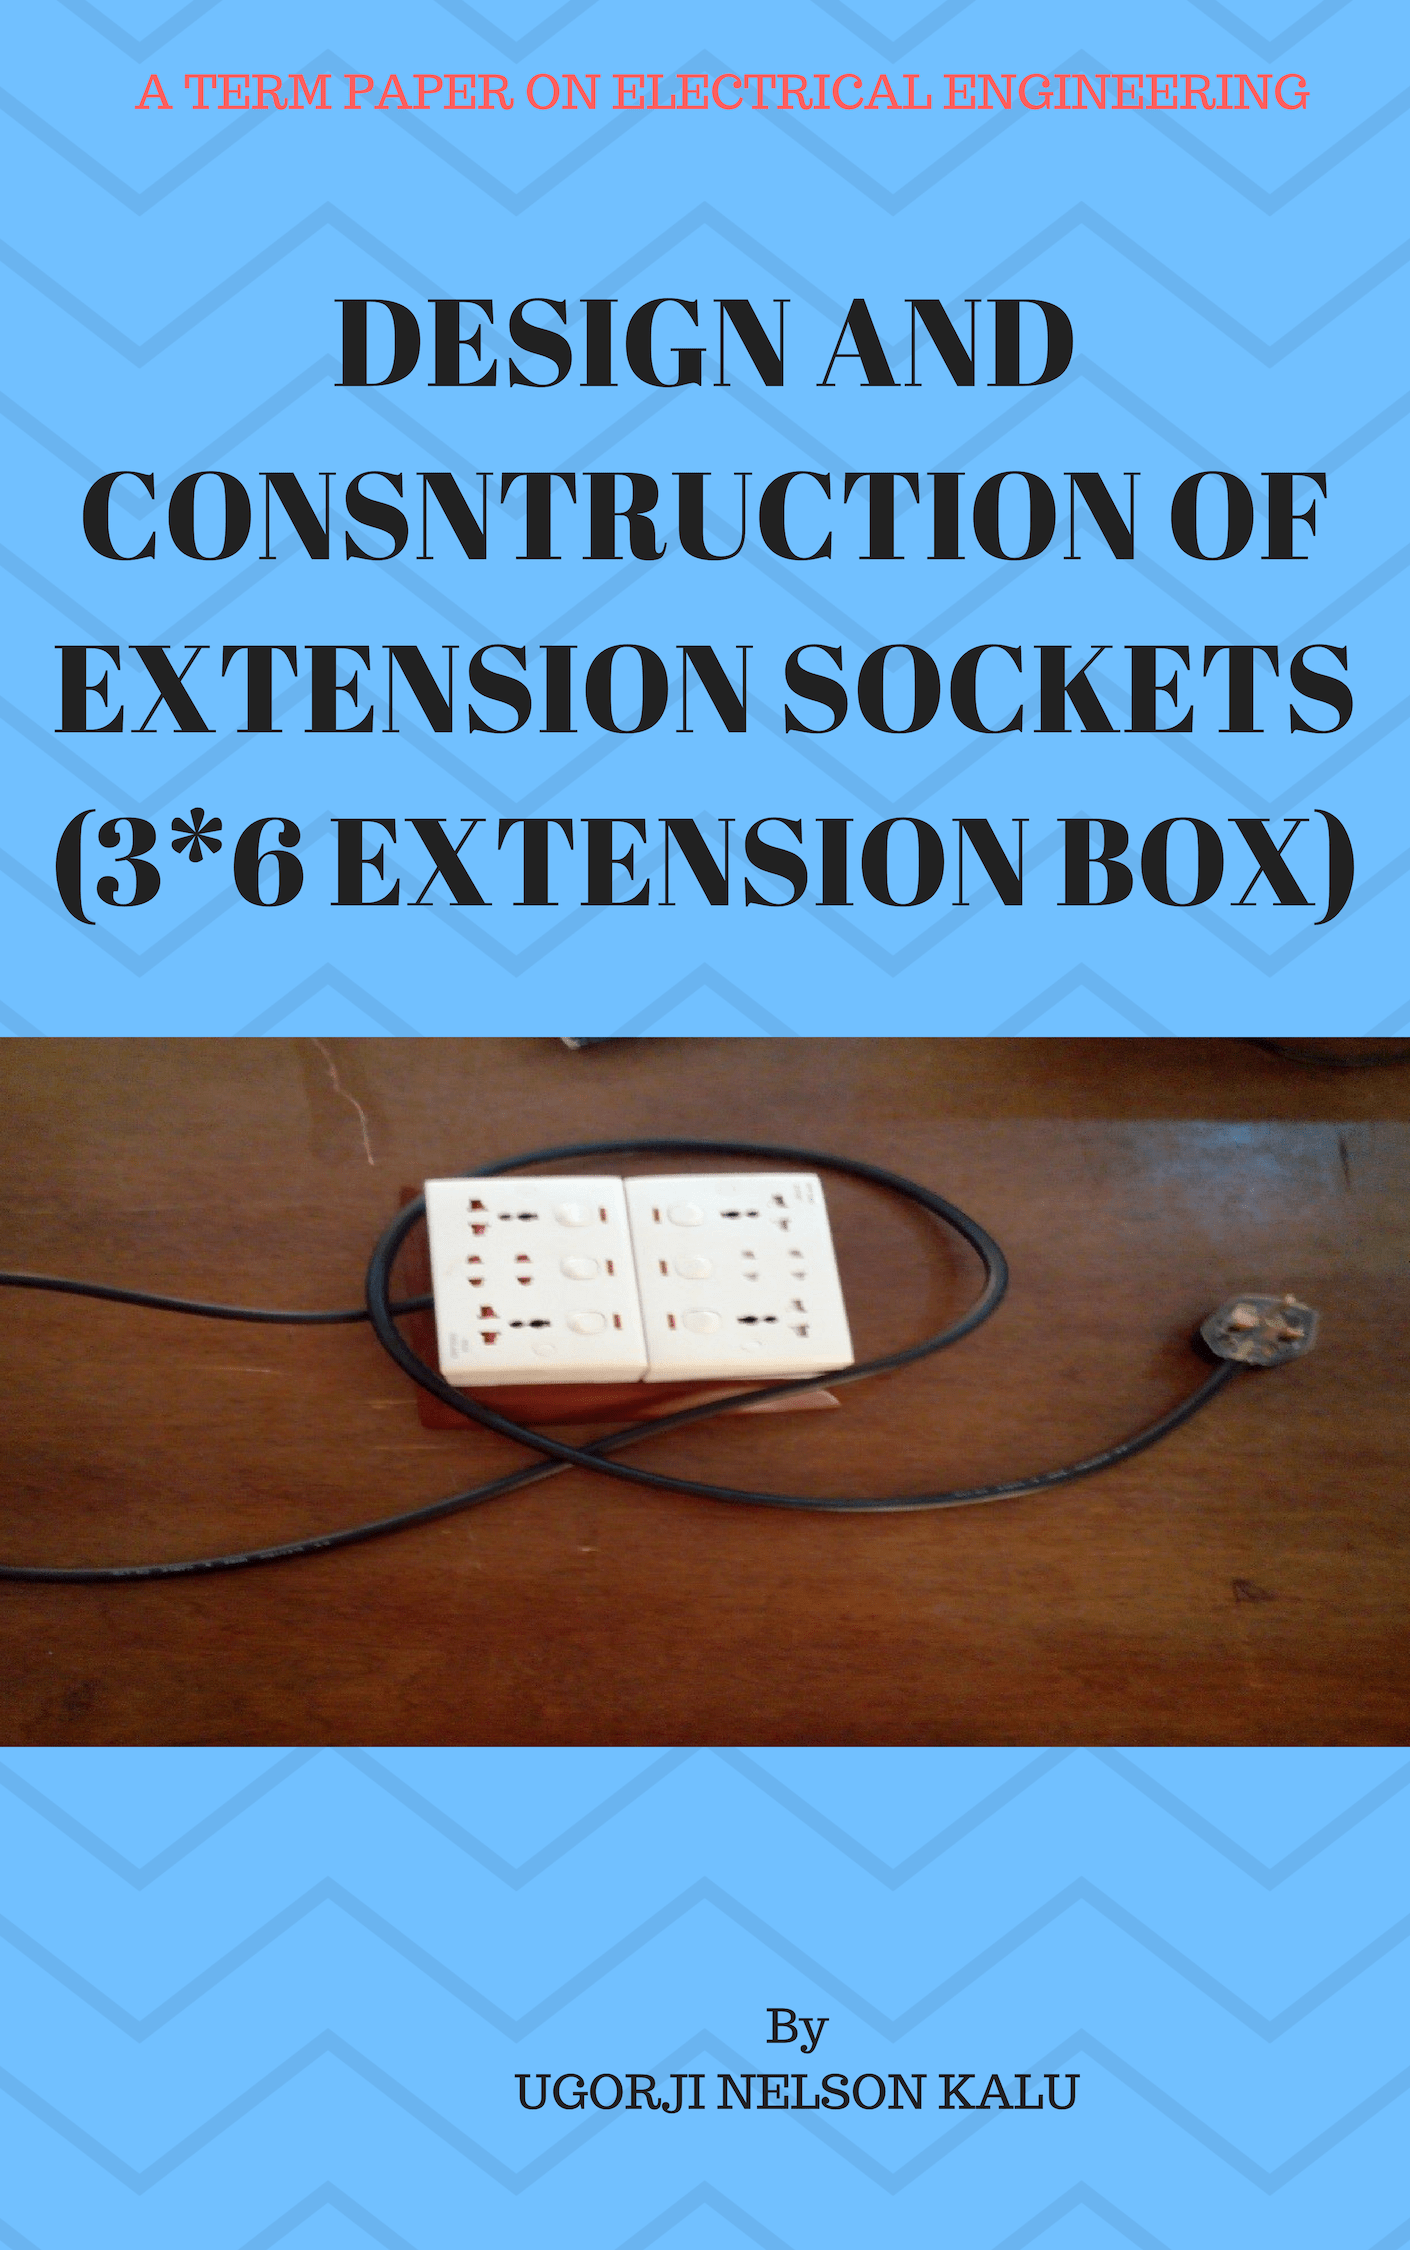
DESIGN AND CONSTRUCTION OF EXTENSION SOCKETS (3*6 EXTENSION BOX)
Extension sockets are built in an extension box, which makes use of electricity in our homes, offices and various other places convenient. We would be constructing an electrical extension with the following equipment; screw-driver, nails and screws, wooden plank, flexible wire, etc.
When electricity gets to our homes, our electrical devices and appliances make use of it by plugging into a mains supply normally rated 220-240v, 50Hz. A single socket usually has one, two or three plug outlets which has the advantage of being able to plug in two or three devices at a time. But when you have a socket with only one outlet and you need to connect about four different devices at a time, we make use of an extension sockets box. With that said, the importance of this experiment cannot be stressed enough.
PROCEDURES FOR MAKING AN EXTENSION SOCKET
- Identify the materials needed in the construction.
- Bare the ends of the three wires inside the electrical cord for about half a centimeter, by cutting away the plastic insulation.
- Gently twist the strands of copper wire with your fingers until each strand is tight.
- Remove the plug cover by either “snapping” or unscrewing it.
- Unscrew the little screws on each of the plug’s pins.
- Insert the twisted copper wires into the holes in the pins.
- The brown wire is inserted into the right pin (the pin is marked with a brown spot or the letter L), the green and yellow wire must always be inserted into the top pin and the blue wire is inserted into the left pin (the pin is marked with a blue spot or the letter N).
- Tighten the little screw on each of the plug’s pins.
- Replace the cover of the plug.
- Create holes on the pattress boxes to allow free passage of cables.
- Set the 2pattress box on the wooden plank, mapping out accurate and neat alignment which fits the setting of the extension box. Then screw the pattress box on the board using a screwdriver.
- Insert the brown (old cable colour = red), LIVE conductor into the hole in the terminal marked ‘L’. Ensure that the conductor is fully housed and that there is no exposed wire showing. Fasten the screw and make sure the wire is firmly secured. Repeat the process for the blue (old cable colour = black), neutral conductors, fixing them in the terminal marked ‘N’. Repeat the process for the green/yellow, earth conductors fixing them to the terminal marked with the earth symbol.
- You start by passing the connecting wires of the plug through the hole created in the second pattress box and joining the wires (brown, blue and black in the live neutral and earth) to the respective wires of the other double plug socket that is after passing the wire through the other hole created in the side of the second pattress box.
- Double-check that all your connections are to the correct terminals, and securely fastened. Carefully push the faceplate back, gently folding the cables as you go, so that they sit neatly into the pattress box. Fasten the faceplate with its retaining screws. Tighten the screws alternately to draw the plate back evenly. As you tighten these, ensure that the face is level. One or both of the screw mountings will have allowance for a small amount of vertical adjustment


Reviews
There are no reviews yet.